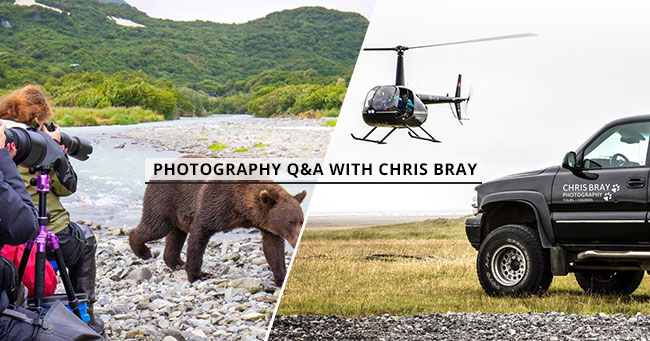
Global LUMIX ambassador, Chris Bray runs Australia’s largest photo tour company, taking guests to glorious locations and guiding them along the path to becoming better photographers. And there’s no doubting he’s got the chops; this award-winning nature photographer’s work appears in Australian Geographic, National Geographic and Discovery Channel, TIME Magazine and more.
While we’ll never be able to replicate the extraordinary experience of travelling the world with Chris Bray and learning in a small-group environment, he has done our fans a major solid by revealing the top 5 most-asked photography questions on his tours and how he answers them. This is a mini-workshop you’ll want to save and refer to frequently!
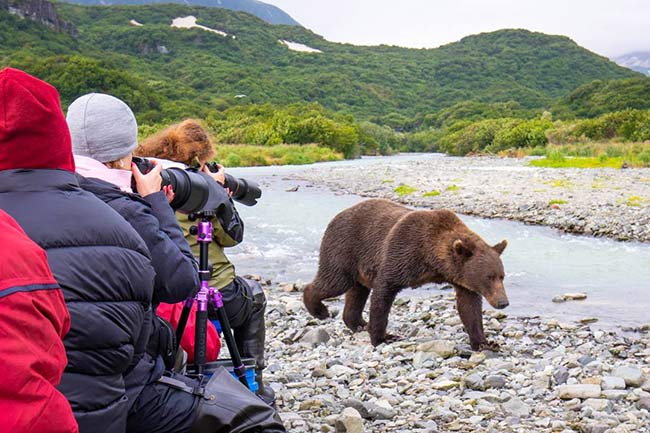
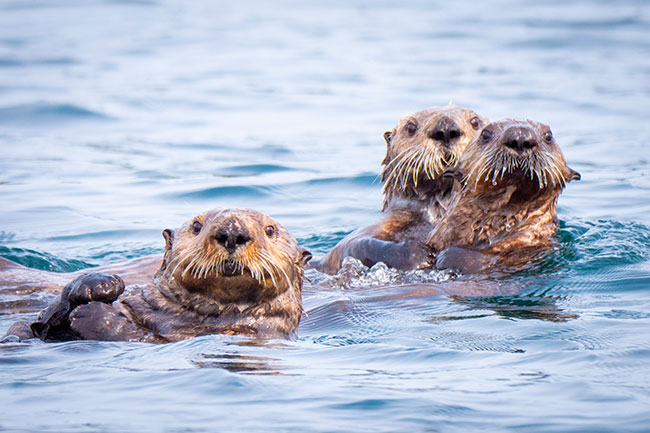
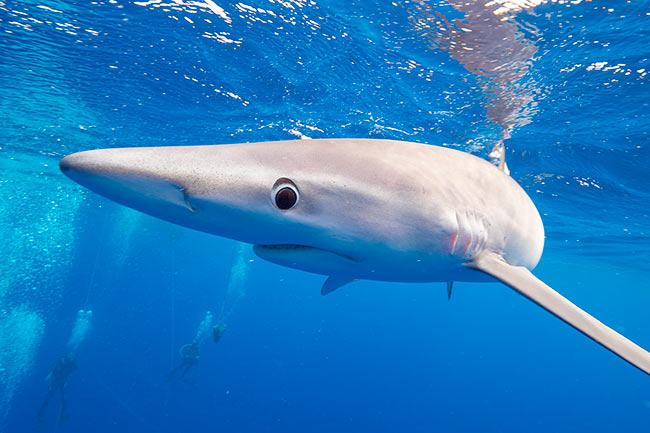
Sound ON, enjoy some of my favorite wildlife moments 😃 from a decade of running small-group photo tours to many of the worlds most wonderful places! I’m still so stoked to be able to do this for a living!
Posted by Chris Bray Photography on Wednesday, 6 November 2019

As low as you can get it while still getting a fast-enough shutter speed. The higher your ISO, the more ISO ‘noise’ (colourful speckles) will deteriorate the overall quality of your image. This noise can be smoothed over in post-production to some extent later, but it’s always best to shoot with the lowest ISO you can get away with in any given situation. If your ISO is too low though, you’ll require longer, slower shutter speeds to get correct exposure, and you risk ending up with movement blur – either from camera shake, subject movement or both – and this is impossible to fix later, so I’d actually suggest that having your ISO a touch too high is safer than too low.
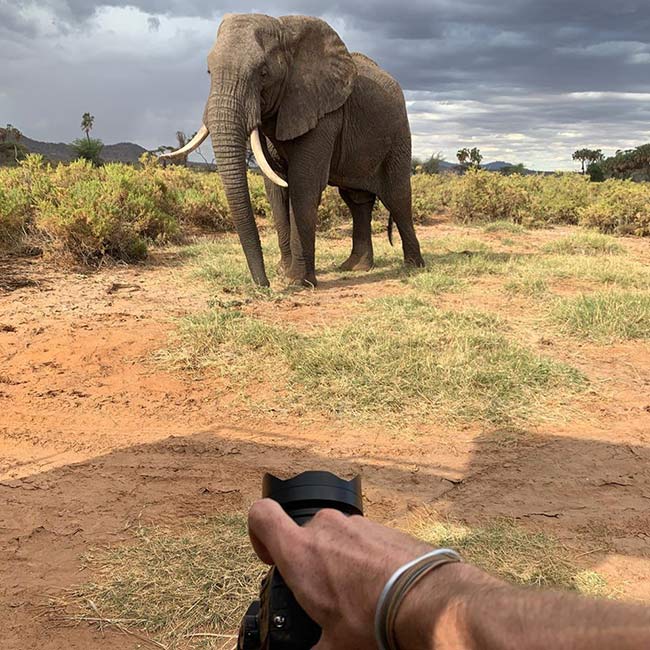
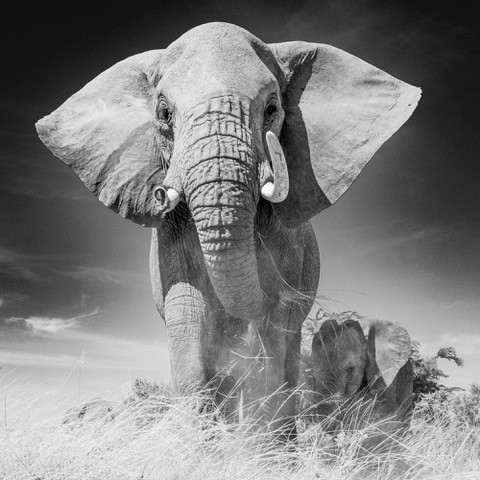
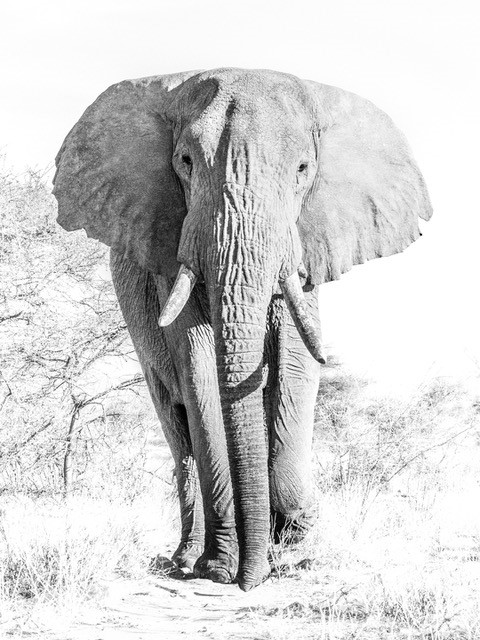
Exactly what shutter speed you need to ‘freeze’ a given subject depends on how fast it’s moving: a bird in flight might need 1/2000th sec but for a walking person or an elephant perhaps only 1/250th will still look fine. The short answer is if your photo has movement blur, then turn your ISO up. Unless you like the movement, of course! Panning photos and the like can look great. Finally, if you’re shooting in S mode, then auto-ISO is quite a handy tool. It’ll only crank the ISO just high enough to give you the shutter speed you’ve dialed in. However, remember that it’s not so good in Aperture mode.

A photo can be blurry for one of six main reasons:
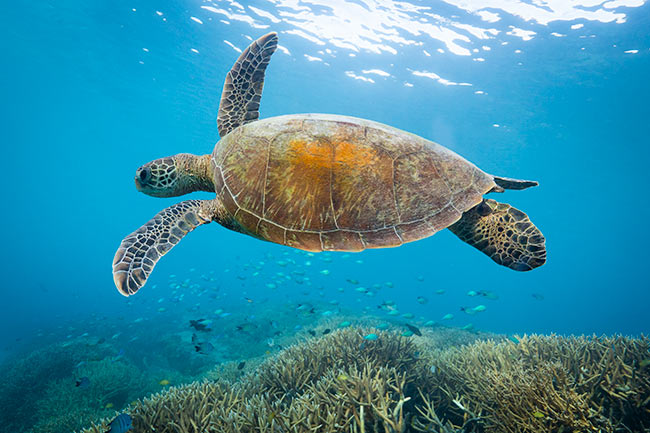
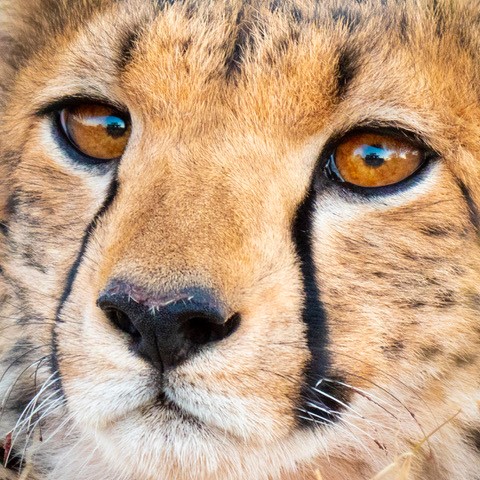
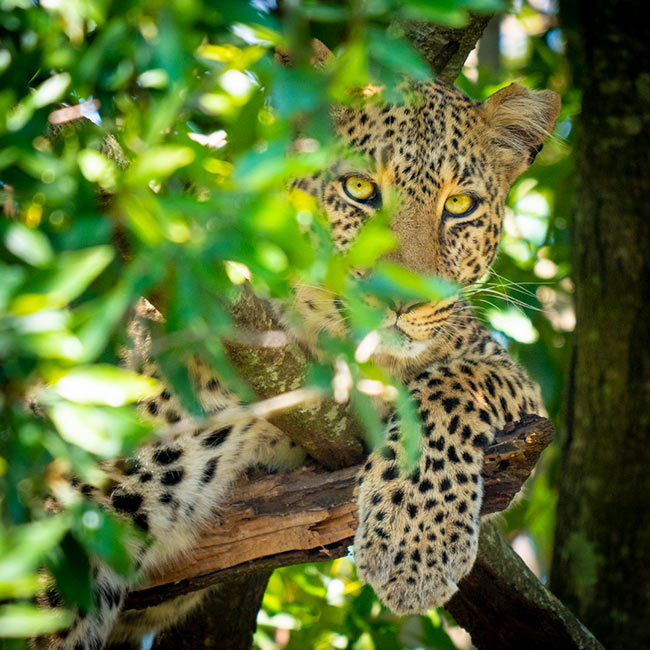
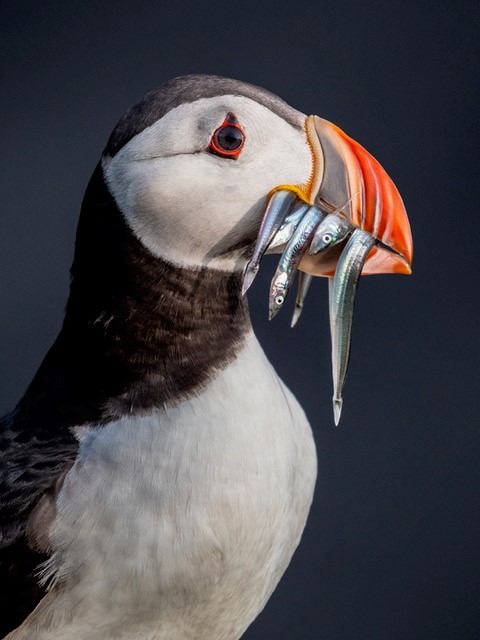
- FOCUS: Your subject might actually not be in focus because the camera focused on the wrong thing. If your subject looks a bit blurry, look around in the photo to see if something else in the shot is actually sharp; perhaps the branches behind the bird, the water behind the whale, or the shoulder rather than the eyes of the lion. If so, then you need to get better at focusing. Use a single, small AF point and be sure it’s right on your subject when you focus. If the subject is moving towards or away from you, consider using continuous auto focus (AF-C) or tracking focus so that the focus updates as the subject’s distance changes. If the subject is basically stationary, then I usually recommend single auto focus (AF-S).
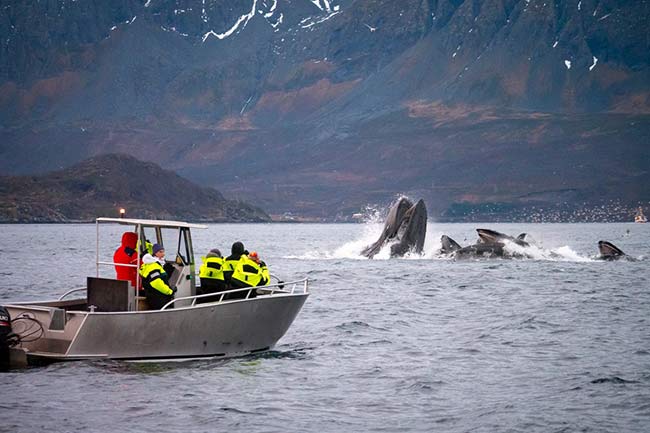
- SUBJECT MOVEMENT: Your subject might be moving too fast for your shutter speed. If your subject moves while the shutter is open, soaking up the image, then you’re going to end up with movement blur. Use a faster shutter speed. Often this movement blur obvious and you can even see the direction of the streaky movement in just the wings perhaps. It can sometimes be hard to tell apart from just a focus issue but a dead giveaway can be to take a look at what shutter speed was used. There is no way, for example, you can expect to freeze a bird in flight at 1/50th second! For a stationary bird on a branch, maybe as slow as 1/50th will look okay but you do then start to risk the next kind of problem, which is camera shake.
- CAMERA SHAKE: You’re not holding the camera steady enough for your shutter speed. Just like with a moving subject, if you’re wobbling the whole camera around while the photo is being captured, unless your shutter speed is fast enough, the whole image is going to suffer movement blur. Unlike subject movement blur, camera shake will affect the entire image. There are a few things you can do to try and remedy this issue. Ensure the stabilising mode on the side of your lens is switched to ON. Use a faster shutter speed because the longer your lens (the more you’ve zoomed in), the worse camera shake becomes and the faster shutter speed you need to avoid it. A good rule of thumb can be to avoid shooting shutter speeds slower than 1/focal length (i.e. 1/100th sec for 100mm lens is about as slow as you can reliably hand hold), and use a rest like a bean-bag or tripod. Weirdly though, you can still get camera shake effects on a tripod sometimes, no matter how steady it is. See the next point for more.
- STABILISER-INDUCED SHAKE WHEN ON TRIPOD: Strangely, many stabilising systems freak out a little if the camera is incredibly steady and it can’t find any vibration to correct for, such as when the camera is on a tripod. This can result stabilising system creating movement and softening your image. If you’re leaving your camera on a tripod to take long, slow exposure such as landscapes, waterfalls or stars, turn the stabilising off. If your camera’s steady anyway, you don’t need the stabiliser, it’s just wasting battery and it might be creating unwanted movement blur.
- POOR QUALITY LENS FILTER: Poor quality UV filters, lens protectors, polarising filters and so on can really soften your image. I always start each photo tour off by encouraging each guest to take the same test photo with and without their UV filter / lens protector attached (if they’re using one). They can then review their photo on the back of the camera, zooming right in and flicking between the two shots and decide if they’re happy with the quality loss. There should be no quality loss for a good filter. You get what you pay for but be aware that even high-end brands like Hoya offer a range of quality from entry-level up to pro. Great filters are expensive but there’s no point paying thousands of dollars for a pin-sharp lens and then ruining it by putting a $20 filter across the front. But equally, it’s worth protecting the front of an expensive lens, so get a good filter. If it’s a cheap lens, then get a cheap filter.
- MAYBE IT ACTUALLY IS SHARP, CHECK IT ON A COMPUTER: There can be a few common traps when trying to decide if a photo is sharp or not by reviewing it on the back of the camera. Some cameras let you digitally zoom in to the photo beyond 1:1 pixel zoom level, to the point where you’re starting to magnify individual pixels. Unsurprisingly the image starts to look blocky and lacking in fine detail, where as in actual fact, it’s perfect. If you can, turn off this feature in the camera’s menu. The other issue can be if you’re just shooting RAW and reviewing on the camera. Some cameras (including the GH5) don’t save a full-resolution JPG preview file inside their RAW files and it’s always this JPG preview ‘inside the raw file’ that is shown when you review a RAW photo on a camera. This means that when reviewing a RAW image on some cameras, if you zoom right in, the image might start to look blocky and lacking in fine detail – just for the last couple of zoom-intervals – but again, when you look at the image later on a computer, bingo, all the fine detail is there after all and the image is pin sharp. If you need reassurance out in the field, you can shoot both RAW and JPG together (then when reviewing, it will show you the full-resolution JPG) or you can often tell the camera to create a full-resolution JPG from a selected RAW file, and you can check that instead.

Basically for a normal photo, you want it to be as bright as possible without quite blowing out the highlights, so the brightest parts are almost but not quite white. It can be hard to tell just by looking at a screen, so spend five minutes and learn to understand histograms. Histograms are super easy and at glance allow you to accurately see if you’re starting to get any pure white in the bright areas (which means you’re losing detail) and if so, then you should just dial back your exposure compensation (EC) a little. One of the joys of a mirrorless system is that you can see your exposure in real-time through the viewfinder. You can even have a little histogram graph in the corner the whole time and be constantly tweaking your EC for every tiny shift in lighting/clouds, so that when you take the shot the exposure is already perfect. Of course, some photos are supposed to be dark and aren’t meant to have any bright areas while others should have lots of white in them, and in really contrasty, bright sunlight you often can’t help but end up with both extremes in the one shot. Generally speaking, you want your images nice and bright but not overexposed – not blowing out the highlights if you can help it.

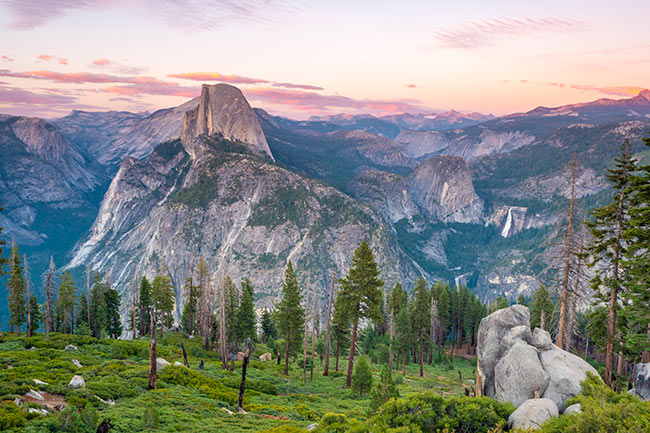
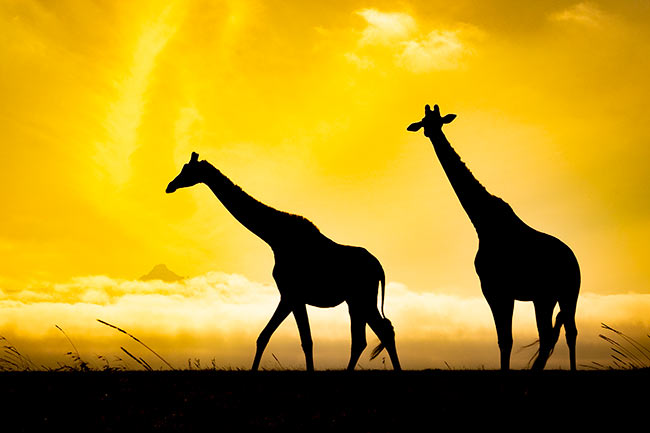
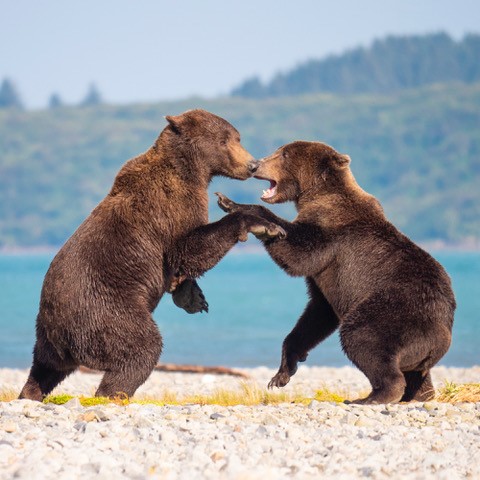
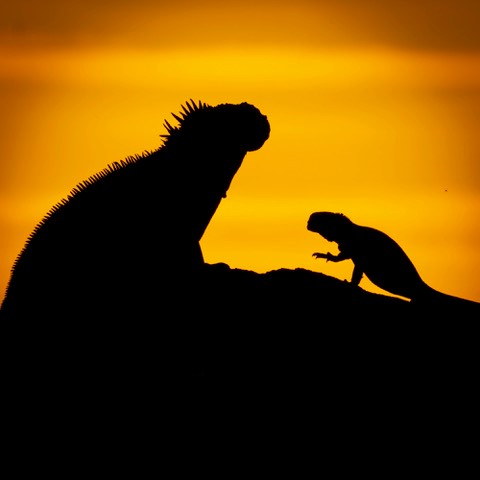
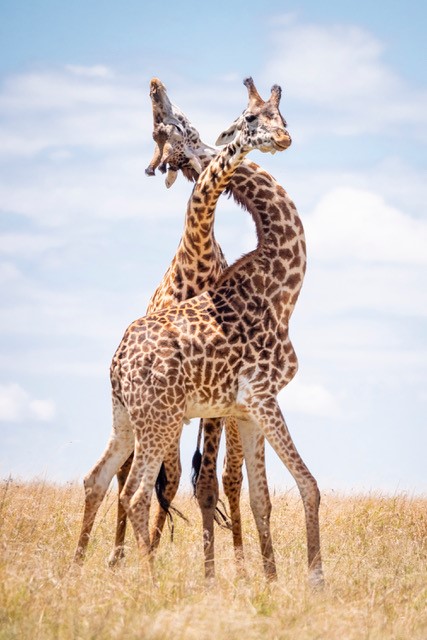
The f/# represents the size of the aperture in the lens, which controls the Depth of Field, which is how far in front and behind of where you actually focused will also come out looking sharp in your photo. It’s super easy: the bigger the f/# you use, then the bigger the Depth of Field will be; the smaller the f/#, the smaller the Depth of Field! If you’re shooting a landscape or a scene where you want everything to be in focus from the close-up plants to the distant mountains, then you need a big Depth of Field and should you use a big f/# like f/18. If you’re shooting a single subject like a wildlife portrait, then you probably want a small Depth of Field. The smallest f/# your lens can give you, like f/4, so that only your subject is sharp and anything in the foreground or background is soft and blurry which really helps make your subject stand out. If there’s a couple of subjects in the same shot and you want them all to be sharp – perhaps two animals interacting – then maybe you need to scroll up your f/# a bit to ensure both come out in focus. Generally for wildlife though, the smallest possible f/# is what you use 90% of the time. Not only do blurry backgrounds look great but small f/#’s correspond to large aperture holes, which means lots of light can get into your camera quickly, allowing you nice fast shutter speeds without having to crank your ISO too high. Perfect!

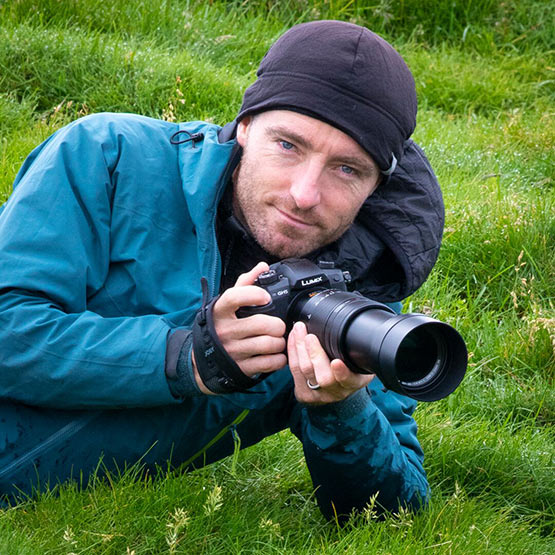
Image: Global LUMIX Ambassador, Chris Bray
Yes, probably, and sooner rather than later, while it’s still worth something! Ha-ha. But seriously. I think the only question is do you go full-frame mirrorless or micro-four thirds mirrorless.


If you want to travel the world with our new LUMIX ambassador, Chris Bray’s upcoming tours could have you photographing the Galapagos and Amazon hummingbirds, or journeying through the deserts of Namibia and vast wetlands of Botswana, or even discovering a tropical paradise a little closer to home (and Chris’ heart) at Christmas Island. Visit Chris Bray’s website www.ChrisBrayPhotography.com to find out about all his other glorious photo tour destinations.
Chris Bray Photography Tours
Namibia & Botswana
May 2020

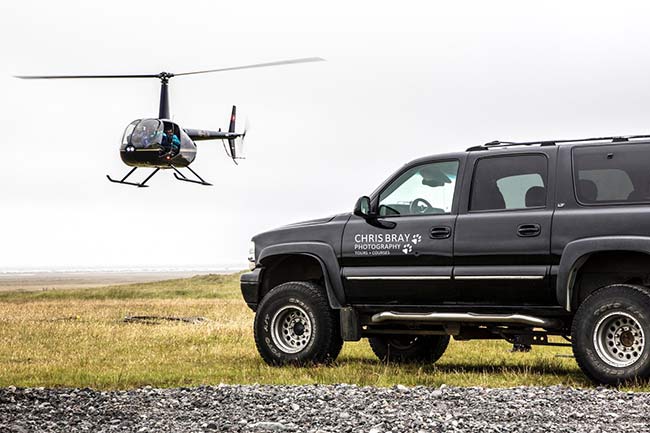
The ultimate southern African safari – from the sweeping, desiccated deserts of Namibia to the lush wetlands of Botswana’s Okavango Delta, you’ll fly between small, luxury tented camps and photograph the vast array of wildlife, culture and landscapes from game drives, boat rides, a hot air balloon and even a doors-off helicopter flight.
MORE INFOChristmas Island
June 2020

Dubbed the ‘Galapagos of the Indian Ocean,’ Christmas Island offers paradise full of rare and unusual birds, crabs, waterfalls, turtle-nesting beaches and crystal-clear tropical reefs. You’ll experience a unique photography tour encompassing four wheel driving, boat trips, cave swims, blowholes and some of the world’s best snorkeling.
MORE INFOGalapagos, Amazon & Andes
Oct-Nov 2020
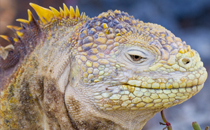
On board a luxury private cruise ship you’ll explore the Galapagos, including giant tortoises and snorkeling with playful sea lions and turtles. You’ll canoe into the Amazon to photograph monkeys, macaw parrots, caimans and more before heading off to an exclusive lodge in the Andes, buzzing with hummingbird species and other wildlife.
MORE INFO