Ken Duncan
Iconic Australian photographer Ken Duncan is truly passionate about his craft. He travels extensively throughout the world in search of the stunning panoramic landscapes for which he is best known. In this article Ken draws on his vast experience to provide his top tips on creating a panoramic masterpiece.
Ken captures large-format limited edition gallery prints which require mind-blowing detail. This means using a camera with ultra-high resolution and stitching together images in post-production. Here’s some how-to’s from the master.
Why I love Panoramas
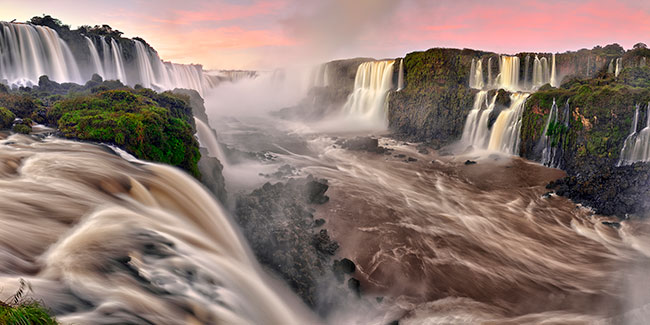
Iguazu Falls, Brazil
Firstly why shoot panoramic? I feel it is one of the most pleasing formats visually for our senses. It is how we see the world with our own eyes. Ned Kelly even had a panoramic viewfinder built into his famous bullet proof helmet!
Shooting Panoramic Photographs using Stitching
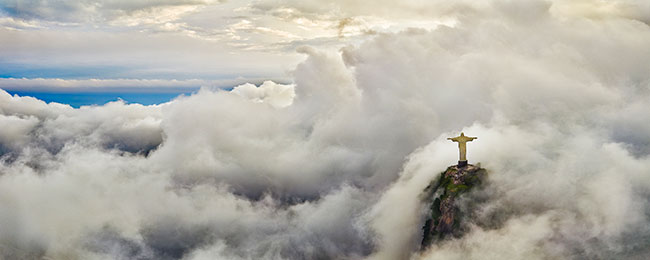
Christ The Redeemer, Rio, Brazil
Panasonic compact cameras feature in built Panoramic Modes where users can easily scan their camera through the scene. These are great to capture a quick vista to share with friends, but if you want to print big then you need to look into stitching. Stitching is achieved when you capture multiple images of a scene and then stitch them together in post-production programs like Photoshop. Stitching is a very creative tool and allows you to get a really wide panoramic view, and create amazing prints.
Remember, the quality of the individual files taken will determine the quality of the final stitched image. For example, using an interchangeable lens camera like the LUMIX S series in high resolution mode, you can create 187 Megapixel images and then crop to 3:1 aspect ratio for roughly a 90MP resulting image. I love stitching and now many of my big panoramic images are made via this technique using my LUMIX S1R. If you don’t have the post production skills or the time you can always get a lab to do it for you.
Things to Remember When Stitching
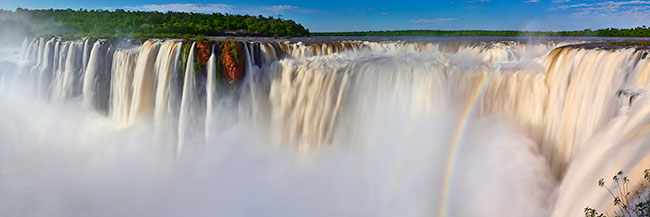
Iguazu Falls, Argentina
- Your images need to match, so never shoot panoramas on automatic settings as the variation in exposure, colour balance and focus can make stitching impossible.
- Set your camera and lens up manually, including focus, aperture, speed, ISO and white balance, and don’t change the settings through a stitch.
- Shoot in the RAW format as this will give you better post production choices. If shooting in RAW, colour balance can be on auto as you can change the colour balance of all images in post-production
- Find what you consider the best part of the scene that you are after. Shoot the stitch then check the histogram and focus on all your files, to confirm that you have the dynamic range to cover all highlights and shadows. Check focus for the depth of field and sharpness and adjust accordingly.
- It is best to shoot in the vertical format as this will give you more height in your image and result in a higher resolution image.
- When stitching it is important to stitch on the Nodal point or ‘entrance pupil’ of your lens. I won’t go into detail here as there are many great online tutorials on this topic, but put simply this is vital so your images aren’t misaligned and can be smoothly stitched together.
- Using a stitching head on your camera will give you greater accuracy.
- However if you do not have a stitching head and good tripod, a simple way is to do a thumb up on one hand. Then rotate your camera on your thumb about half way along the lens barrel. (Be careful not to move the focus on lens). This will give you a better chance for a wide angle stitch. Check the level on-screen while shooting.
Composing your Panorama
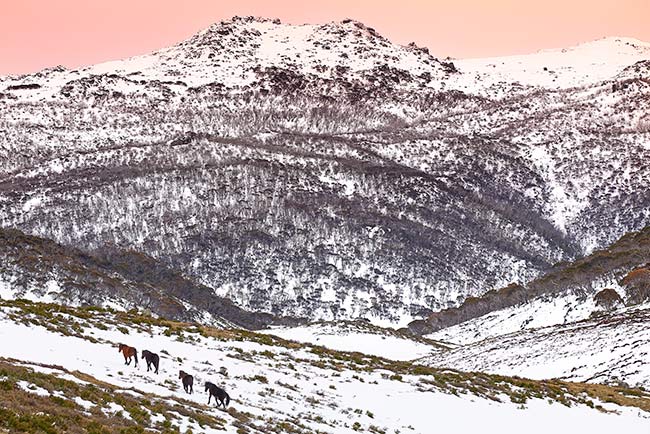
Snowy Mountains, NSW, Australia
- Great composition is the key to a great Panorama.
- Consider the starting point and finishing point of your Panorama. Leave extra space at sides, top and bottom for later cropping, as when stitches are processed they often have jagged edges.
- Work quickly when shooting in changing weather and make sure you capture every image in the same lighting conditions.
- Make sure you check focus and that you have enough depth of field in the images. Usually it is best to have a good depth of field so set your lens aperture on about f8-f11. The LUMIX S Series offers a convenient DOF guide on the focus scale that adjusts based on your focal length, aperture and focus position.
- Choose the right lens for the amount of compression in the image you want. Remember wide lenses bring the foreground forward and push the background back. It is vice versa for longer lenses. Choice of lens can make a big compositional difference.
- When shooting water with movement try and slow the exposure down so that it smooths the movement and makes stitching possible. ND filters are good for this but make sure they are good ones – with even density and without colour casts. Do not use variable ND filters as they will cause stitching problems in clear areas.
- With moving water (as in waves) look for patterns where the waves are breaking and shoot at similar times so that the waves will stitch.
- If subjects are in the distance it is easier to stitch. I even do stitches from helicopters or balloons but you must shoot quickly so you don’t get too much movement. Obviously these are hand held.
- Avoid using polarising filters. Depending on their angle to the light they will affect each file of the intended stitch differently.
- One disadvantage with stitching is when there is excessive movement or when you are trying to capture a decisive moment of action or light. This is where you will need single shot captures.
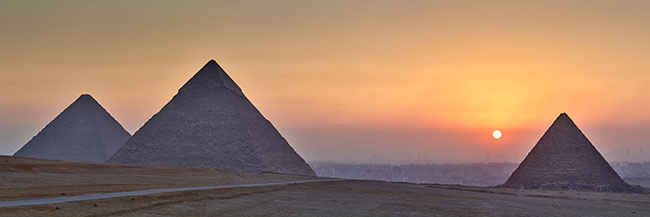
Pyramids, Giza, Eygpt
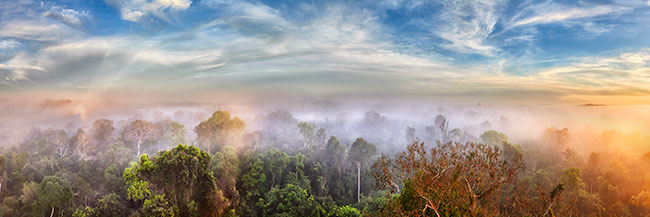
Amazon Jungle, Brazil
Desert of the Devil, Argentina

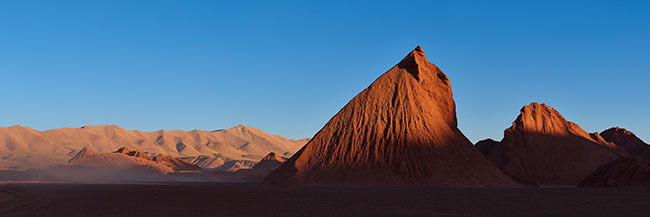
Rainbow Mountain, Argentina
In Summary
As the old saying goes “A stitch in time can save nine” Although in reality with stitching it may take nine or more to get one Panoramic Masterpiece. Good Luck
Ken Duncan OAM
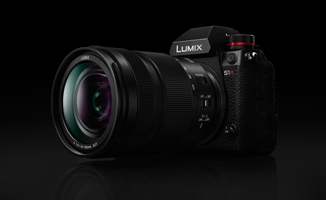
LUMIX S1R Full Frame Mirrorless Camera