Words & Photos by Louise Bagger
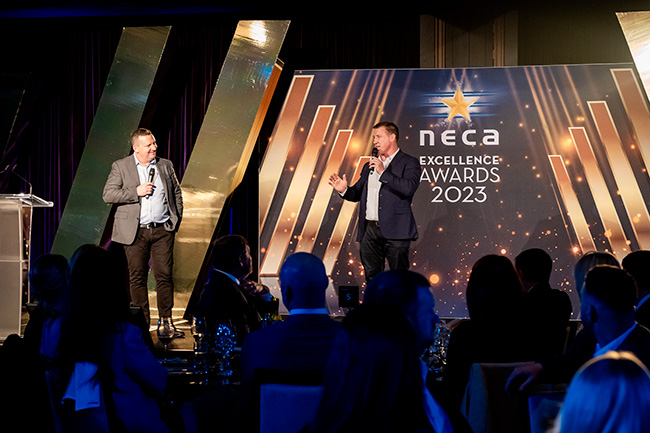
Event photography can be a rewarding yet challenging field. I shoot both corporate and private events, each requiring a mix of technical skills, attention to detail, and effective communication with my clients. There are several elements to consider when navigating the process of photographing events, from preparation with my client and the venue, through to the execution.
I love shooting events. With the following steps in your back pocket, perhaps this is a genre you may consider adding to your portfolio.
1. Initial Client Consultation
Before any event, the first step is meeting with the client to understand their expectations while setting your own.
• Event type and location – Is it indoors or outdoors? What’s the lighting situation?
If a venue is new to me, where possible I will allow time to visit before the event.
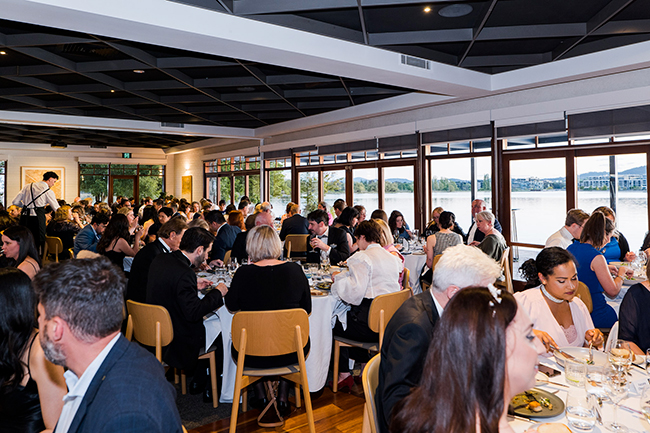
• Specific shots required – Does the client want candid moments, group shots, or detailed photos of decor and settings?
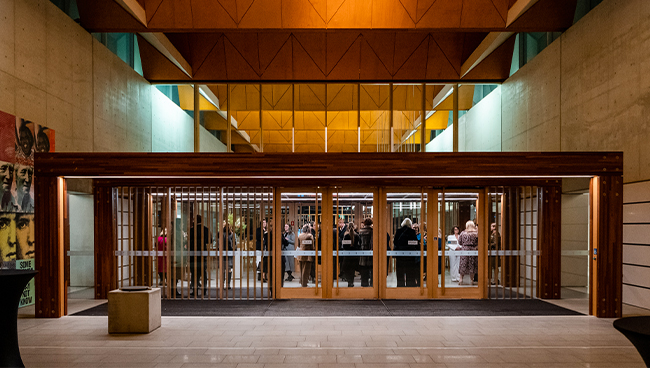
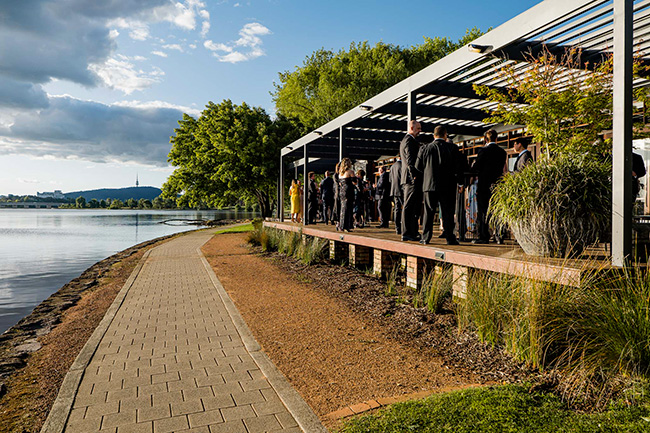
If possible, head outside the venue. It’s surprising how many great shots can be included.
• Important VIPs – Ask for a list of key people to photograph, such as speakers or special guests, and inquire about any specific instructions on how these individuals should be portrayed (e.g., formal or candid shots).
• Special moments or key events – Discuss any important moments that must be captured, like speeches, awards, or ceremonies.
In Australia, I have experienced that most corporate events will include a ‘Welcome to Country’. Some will include a traditional dance or smoking ceremony.
• Run sheet – Ask for a copy of the event’s run sheet. This will help you plan and position yourself for key moments. Study the run sheet carefully to understand the timeline, ensuring you’re always in the right place at the right time. The run sheet should also include your key point of contact for the event.
When I arrive for an event, I will ask if there have been any last-minute changes to the event. I always carry a pen.
• Contract – I cannot stress this highly enough on the importance of a concise contract, signed by my client, before any event proceeds. The contract sets out the expectations from both parties, and the agreed fee, and includes specific Terms & Conditions.
I suggest to anyone new to photography to consult with a contract lawyer to ensure their contracts are lawful and fair. A contract protects both the photographer and the client.
2. Choosing the Right Gear
For event photography, it’s crucial to bring gear that is both versatile and reliable. With the Panasonic LUMIX S5 or S5II, I’m well-equipped to handle a variety of scenarios. Here’s how to make the most of your camera and lenses:
• Camera: Panasonic LUMIX S5 and S5II
These full-frame mirrorless cameras are known for their excellent low-light performance, fast autofocus, and compact size. With a high dynamic range and impressive color accuracy, they’re ideal for capturing vibrant and detailed shots, even in difficult lighting.
• Lens choices.
After many years of shooting events, these lenses are my work-horses.
– 24-70mm f2.8: This lens is my go-to for versatility. It’s great for both wide-angle shots of the event and tighter shots of individuals or groups.
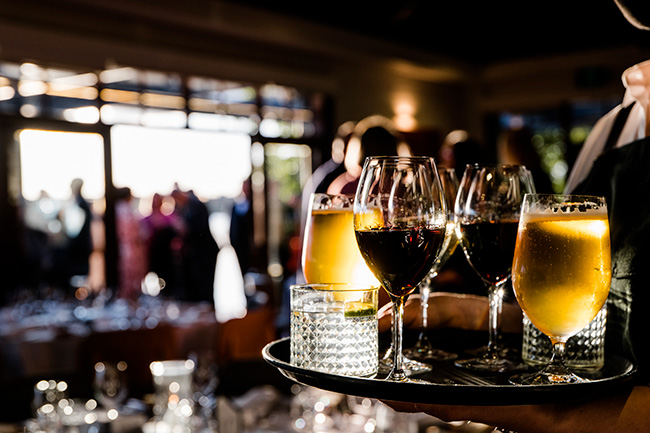
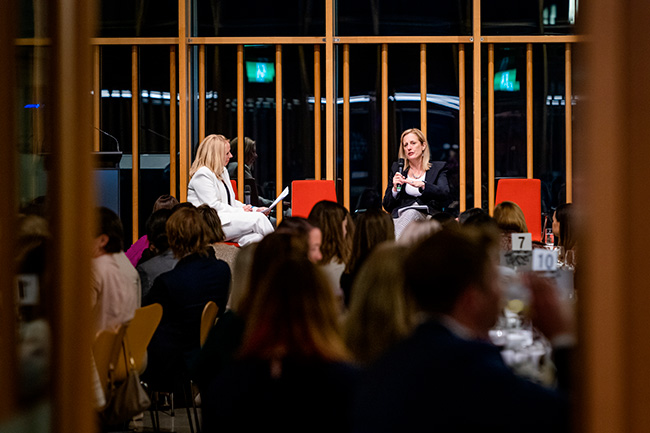
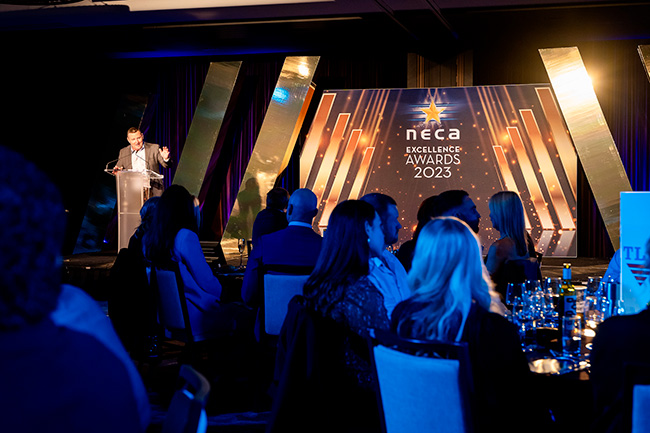
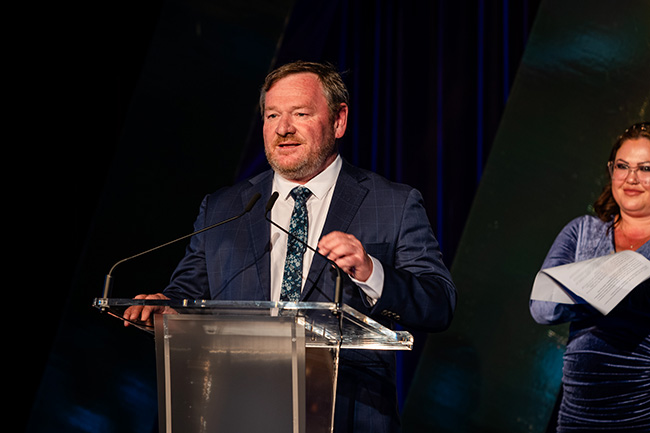
– 70-200mm f2.8: I use this lens for long-distance shots, particularly if I need to remain discreet during formal events or when capturing candid moments from afar without disturbing the subjects. Most corporate events will have considered stage lighting for speeches, some great, some not so great! The wide aperture enables me to shoot with the available light resulting in natural and sometimes moody shots.
I generally shoot with two camera bodies to avoid the possibility of having to change lenses.
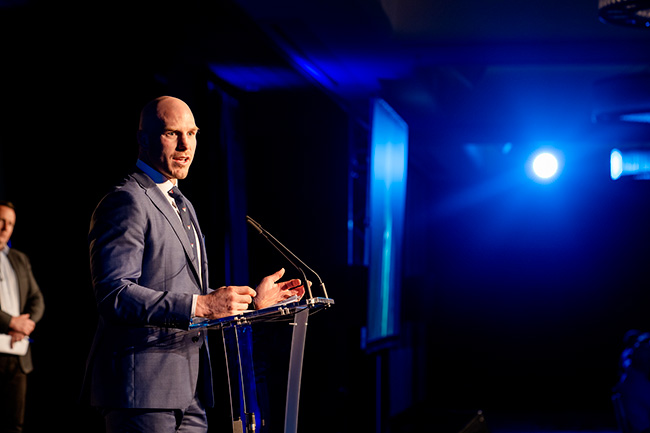
– Why f2.8? I don’t want any surprises and want to have the widest aperture available to me to allow for potential low-light situations. The 2.8 also gives a creative edge to my shots.


3. Lighting Considerations and Speedlites
One of the most common challenges in event photography is lighting, and I generally have no control over the environment. Here’s how I use on-camera speedlites for the best benefit and to effectively enhance my images.
• Tip number one! Always have at least one speedlite on hand and learn beforehand, how to
use it.
• Assess the lighting situation:
– If the venue is dimly lit, I’ll likely need a speedlite to illuminate subjects properly. I always have one on each camera. Where possible, I ask the event coordinator to stand as my ‘model’ for a test shot.
I always check with the event coordinator if there is a specific area for guest entry or group shots. There may be corporate banners, wall banners, or a specific decorated area set up for this purpose (ie flower wall).
– I use available light where possible. I always have a speedlite on hand for outdoor events to fill shadows in harsh sunlight.
• Setting up your Speedlite:
– Bounce the light: When shooting indoors, aim your speedlite at a ceiling or nearby wall to soften the light. Direct flash can create harsh shadows and unflattering highlights. Granted, I don’t always have a light ceiling available, or I’m shooting in a large open space (ie hotel lobby). If this is the case, start with the flash pointing straight up, then adjust the angle as needed.
– Use a diffuser: I always attach a diffuser to my speedlites. This enables the light to spread, creating even light and avoiding hard shadows.
– Power settings: I will adjust the power of the speedlite according to the distance between me and the subject. A good starting point for most events is around ¼ to ½ power but always test and adjust based on the scene.
• Balancing ambient light with flash.
There’s one or two ways I set my camera, based on the lighting condition available to me.
– Dimly lit environment (this can be indoor or outdoor). I set the shutter speed to 1/60 of a second, aperture f4 (it’s a starting point), ISO400. The slow shutter speed, with the speedlite, will allow surrounding ambient light to show which helps to balance the scene, rather than a faster shutter speed which can result in the light only hitting the subject.
– Indoor well-lit, or outdoor environment. If I feel a speedlite is needed, I first adjust my camera settings (shutter speed, aperture, and ISO) to expose for the ambient light. Then I add the speedlite to provide additional light on my subject. This way, my images will have a natural balance between the ambient light and the flash, and will avoid an overexposed background.
4. Camera Settings for Event Photography
When photographing events, flexibility is key. Here are some essential settings to consider.
• Mode (if not shooting full manual): Aperture Priority (A) mode is ideal for event photography because it allows you to control depth of field while letting the camera adjust the shutter speed for correct exposure. My preference is to shoot in Manual mode for full control.
• ISO: Auto ISO works well with the LUMIX S5 and S5II. These cameras handle higher ISOs with minimal noise, making them ideal for low-light situations.
– White Balance: I set the white balance to auto for most situations, but if the lighting is consistent (like in a ballroom), I can manually set it for a more accurate color.
– Autofocus (AF): I shoot in single point (1-Area) autofocus, with focus peaking.
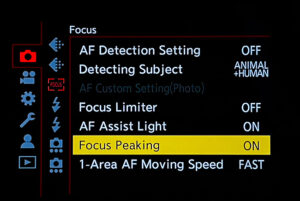
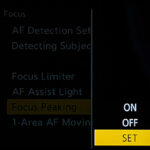
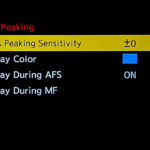
If you’re not confident about capturing moving subjects, you can set your camera to tracking autofocus to ensure your subject stays sharp in case they have a tendency to move across the frame.
– Burst Mode: I tend not to use burst mode as I am familiar with my process. Burst mode can be handy for fast-moving scenes or important moments like speeches or interactions. This ensures you capture multiple frames and choose the best one later.
5. During the Event
Once the event begins, my primary task is to stay alert and flexible. Here’s how I approach the job.
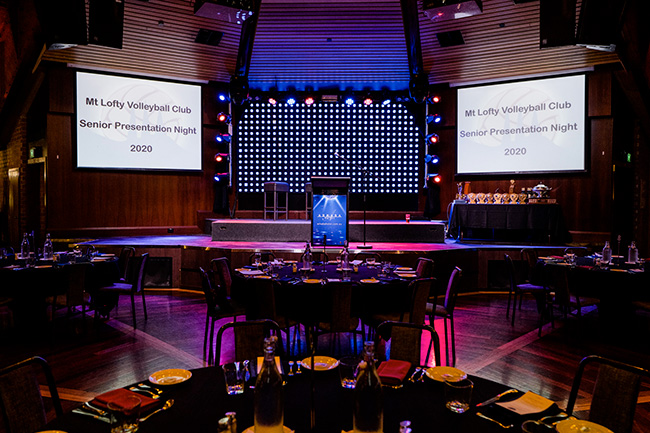
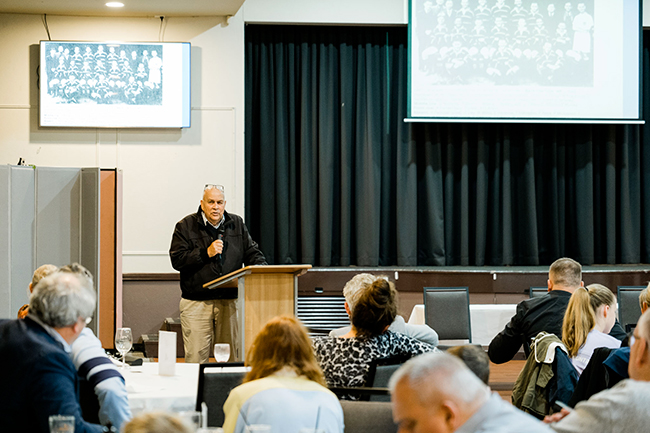
• Arrive early: I will generally arrive 30 minutes before my official start time. I use this time to connect with the event coordinator for a general meet and greet, and to find out if any updates have been made for the event. Arriving early gives me time to set up and test my gear, and find a spot to safely leave my bags. Where present, I will introduce myself to other crew (lighting, video) and chat about any they need from me, or I need from them. For video – where will they be set up, how many cameras do they have? For lighting, I will ask if they can show me the stage light for speeches. This helps me to get my camera settings ahead of time. I can also check the lighting for capturing wide-angle shots.
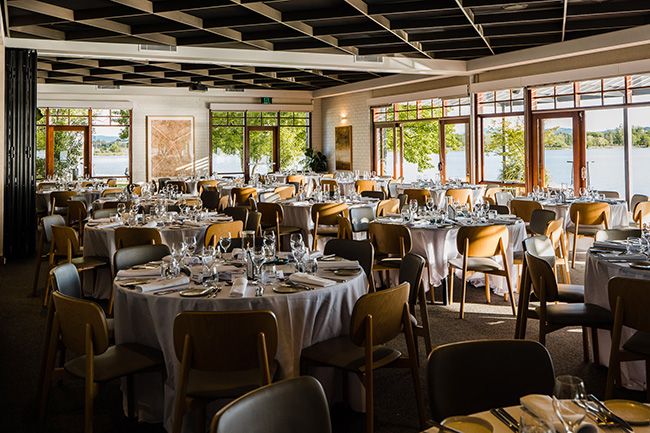
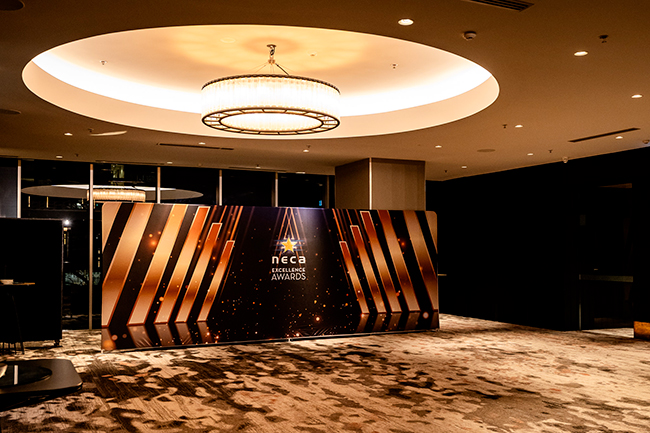
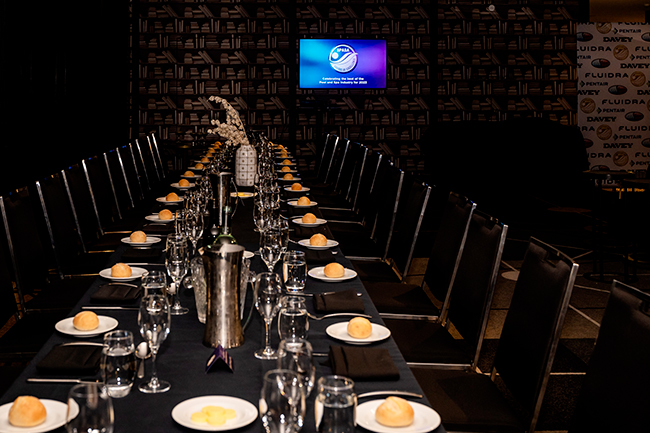
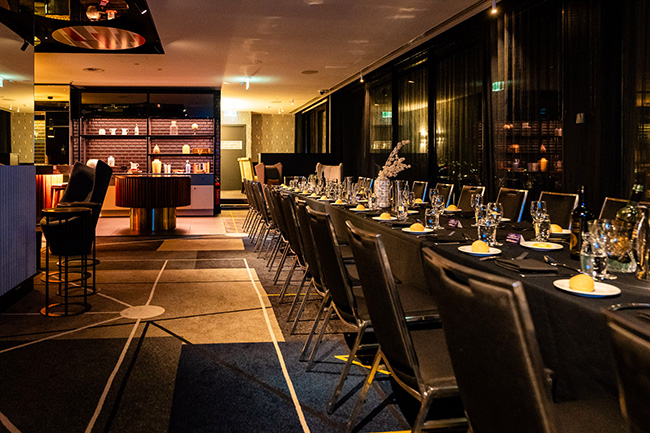
Arriving early enables me to take shots of the venue before it fills up with people.
• Positioning: I always pay attention to the run sheet and position myself strategically for key moments. Going back to arriving early – this also give me time to assess the best spots to stand – for example, close to the podium for speeches, or moving to the back of the room for environmental shots. Sometimes space can be tight and the 24-70 will suffice.
• Stay discreet: I avoid disrupting the event, moving quietly, and use my zoom lenses (especially the 70-200mm) to capture moments from a distance.
6. After the event,
the second part of the assignment begins. Here are a few tips on how I streamline my post-processing:
• Cull the images: I sort through the photos and discard unnecessary duplicates, missed shots, or blurry images straight from the card. I use a program called Photo Mechanic with the memory card in a card reader. I realise this may not be for everyone. Alternatively, you can transfer all the images to your hard drive, and cull from there. When going through the images, I pay attention to the people shots. I always take two or three shots of the same group setup in case there are any blinks. Having additional shots provides the ability for eye swaps. Other than that, I ‘focus’ on keeping only the best moments.
• Edit in batches: Using Adobe Lightroom I can batch-edit images for consistency. I will adjust exposure, contrast, and sharpness as needed to one image, then sync to others in the same set. Sync edits will only work where the edit being applied, is synced to images taken in the same environment, at the same exposure settings.
• Export and deliver for my client: I deliver the final images electronically, as two folders. One with full high-resolution images for print use, and the other with images optimized for web (social media).
How many do I deliver? This is where I set the expectation, usually in my first email or phone conversation with my client. I state that I deliver, on average, 30 to 50 images per hour of coverage. I invariably over-deliver.
Event photography is all about preparation, adaptability, and familiarity with my equipment. With the Panasonic LUMIX S5 or S5II and versatile lenses like the 24-70mm and 70-200mm, I am equipped to handle any event with confidence. By understanding my client’s needs, carefully planning my shots, and mastering lighting techniques, I can capture memorable moments, and important details that my clients can use for their desired requirements.
Did I mention a contract?
Learn More About LUMIX Full Frame Digital Cameras